So easy even a monkey could do it
I recently found myself in possession of a 4-bike storage rack from Monkey Bar Storage. Which was a fortuitous turn of events, because am also in possession of several bikes parked on the floor in my garage. And they are a frequent source of frustration.
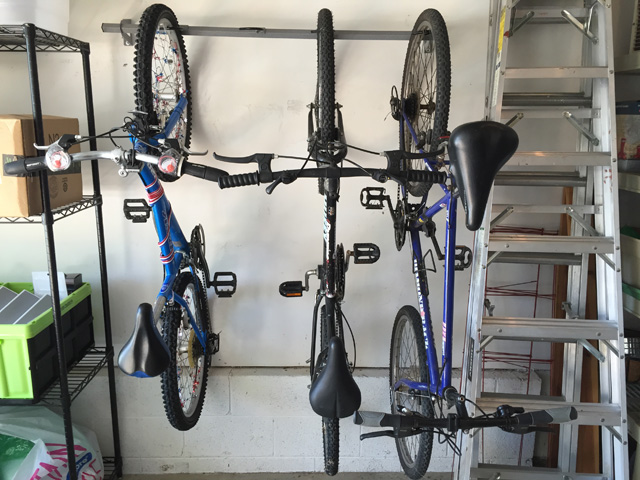
Hyperbole Alert: This photo represents the number of bikes it felt like I had in my garage.
Getting your bikes, and anything else, off the floor is a great way to organize your garage. Hanging items keeps them safer (no knocking things over) and you safer (no stubbed toes, bruised shins, or getting pinned under a pile of bikes). Plus stuff up off the floor looks nicer and makes the garage floor easier to clean.
Now my garage is what my husband likes to call the Hodge Podge Lodge…we place a high value on “use what you have” organizing, which means accepting hand-me-down shelving from my sister to store my work supplies (luckily my sister doesn’t buy junk, so they’re nice shelves) and using the ol’ pine-board-and-cinder-block system leftover from college to house bins of sporting equipment.
But even when channeling my inner MacGyver, I could not come up with what I felt was a safe and useful system for storing my family’s bikes. For this I needed to turn to the professionals. Enter Monkey Bar Storage.
Full Disclosure: Monkey Bars sent the bike storage rack for review. This review is a completely objective overview of my experience.
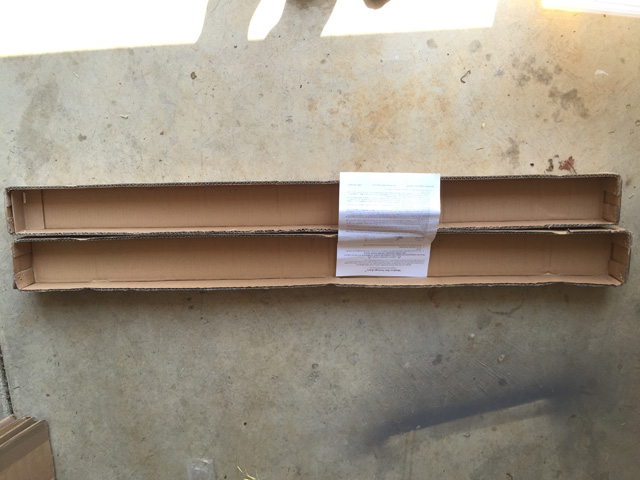
The Bike Rack Arrived
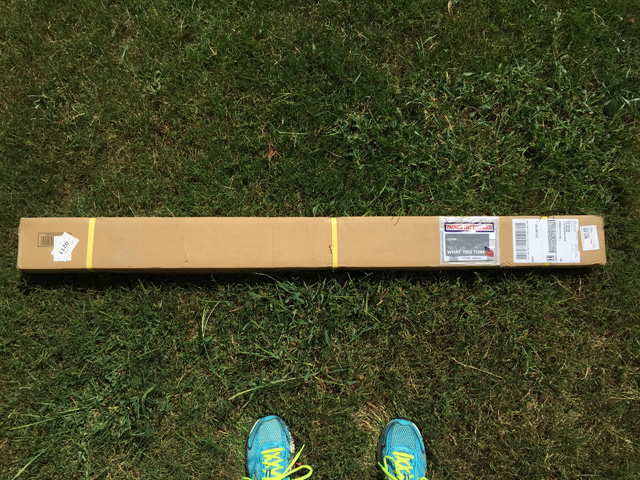
Huzzah!
[vc_separator type=’normal’ position=’center’ color=” thickness=’1′ up=’25’ down=’40’]
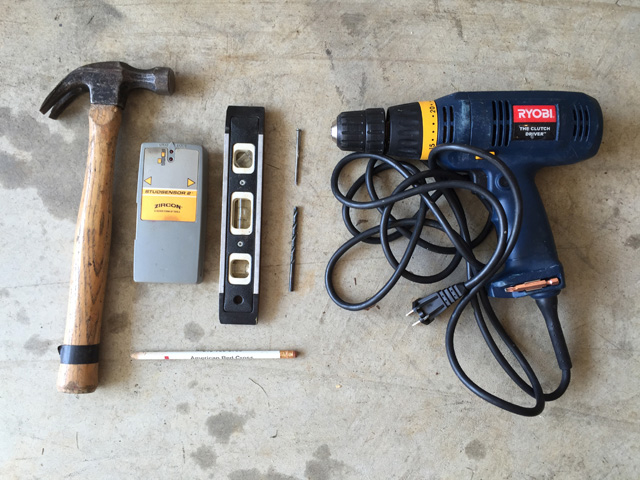
The install requires just a few common tools.
[vc_separator type=’normal’ position=’center’ color=” thickness=’1′ up=’25’ down=’40’]
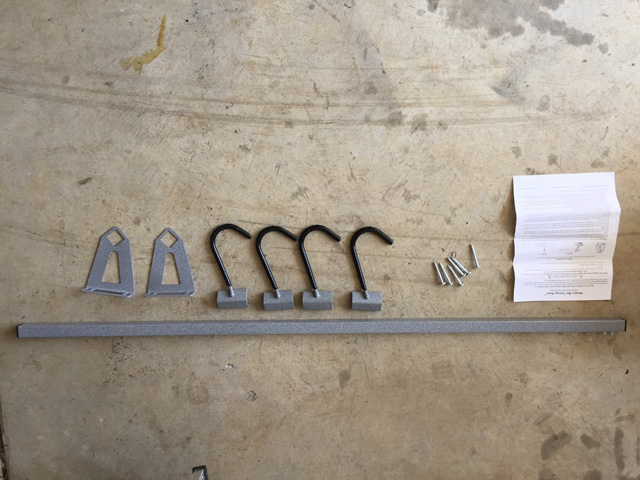
Along with the package contents.
[vc_separator type=’normal’ position=’center’ color=” thickness=’1′ up=’25’ down=’40’]
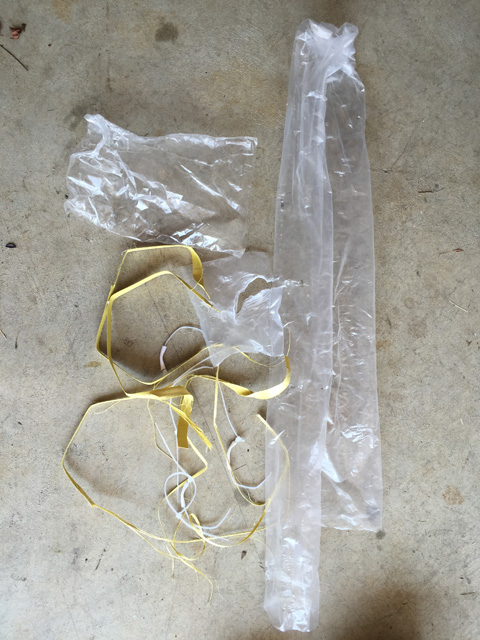
Side note, the packaging leaned towards the minimal, with only a little garbage
[vc_separator type=’normal’ position=’center’ color=” thickness=’1′ up=’25’ down=’40’]
and some recycling, which I really appreciate.
[vc_separator type=’normal’ position=’center’ color=” thickness=’1′ up=’25’ down=’40’]
Installation Was Simple
The instructions took great care to make sure you install the brackets into studs. You can understand why when you consider that this bar is going to hold a heck of a lot of weight on just two brackets. Those suckers darn well better be secure. The instructions recommend you tap a test nail into the spot where you think you’ve found a stud. This was good advice, as for some reason, my stud finder sucks, and tends to be overly optimistic about its stud-finding capabilities.
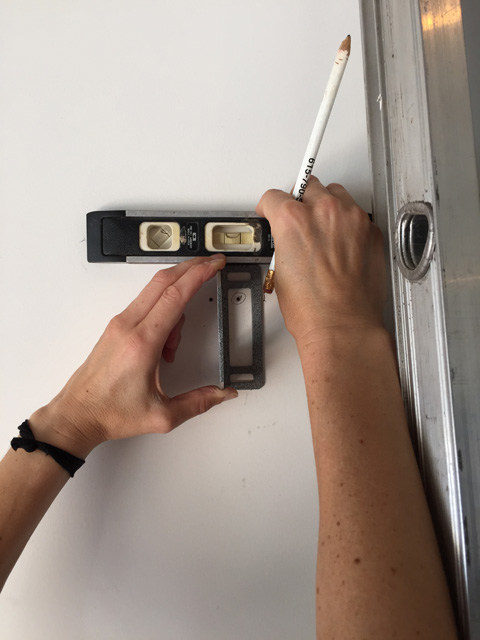
After you find a stud, level your bracket at the desired height (mine is 6’6” off the floor, allowing for bike height and overhead garage door track) and mark where your bracket goes.
Note the two nail hole marks. And the circle drawn around one of them, because while I may have a crappy stud finder, this is not my first rodeo – I know it takes 2.3 seconds to forget which hole was the “good” one. The pencil is your friend. Also the camera adds 10 pounds to your arm. And age spots.
[vc_separator type=’normal’ position=’center’ color=” thickness=’1′ up=’25’ down=’40’]
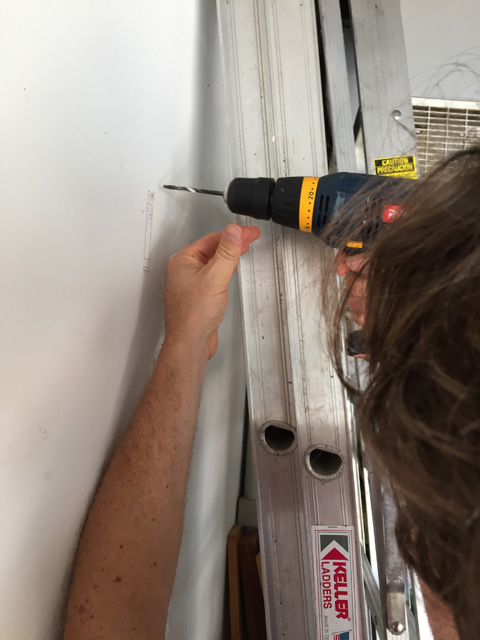
Gentlemen, start your drills! This is the part that I think is the hardest…trying to drill above head-height, into a stud. Using a ladder would certainly help, for leverage. I chose to outsource to my husband.
Note the hairy arms and head that can look a 6’6” pencil mark nearly in the eye.
[vc_separator type=’normal’ position=’center’ color=” thickness=’1′ up=’25’ down=’40’]
Then use the included screws to mount the bracket.
Whoops, phillips drill bit/phillips screwdriver was not mentioned under “What you will need” in the directions. But really, if you can’t lay your hands on a phillips screw driver on short notice, you’re probably not tackling this project in the first place.
[vc_separator type=’normal’ position=’center’ color=” thickness=’1′ up=’25’ down=’40’]
Rinse and repeat for the the other bracket, approximately one bar-length away from bracket #1.
[vc_separator type=’normal’ position=’center’ color=” thickness=’1′ up=’25’ down=’40’]

The bar inserts easily and the hooks clip on intuitively.
Note the cameo appearance by my sister’s shelves on the left and the ladders on the right. The 4th bike is in the house, on a trainer. The fact that I do not know how to remove that bike from the trainer may be fodder for another blog post.
Chez nous, we like to work under a high degree of difficulty (read: we didn’t want to bother moving the shelves and the ladders). We had no problem installing the unit with these items in situ. You might prefer to clear the area of items before you install, because you’re, IDK, sane.
Also note: the bar appears to be high on the left. However, the level showed the bar was dead on level. I think my garage floor may be slanted towards the door for drainage purpose. At any rate, it’s not a fashion show. The bikes are off the floor, and that is awesome.
[vc_separator type=’normal’ position=’center’ color=” thickness=’1′ up=’25’ down=’40’]
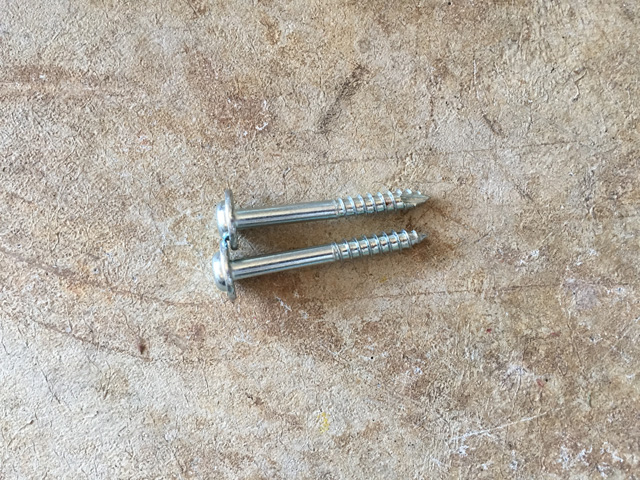
At the end of the project, I was left with two screws.
Always a little unnerving, but two people with knowledge of tools and college degrees read and re-read the instructions and these dudes were never mentioned. The real proof of the pudding is that the bar and my bikes have remained in place for over a week. The project has been deemed a success.
[vc_separator type=’transparent’ position=’center’ color=” thickness=’1′ up=’60’ down=’40’]